Communication ECA Phase IV Class 3: Automatic Parking 20180926

In this class, we will achieve an autonomous parking. Frist, we construct the Robot Educator base model, which is a basic wheeled robot.
Program 1: Three Point Turn

1. Start the Program
2. Turn the driving base and stop after 1.5 seconds.
3. Turn the driving base left and stop after 1 second.
4. Move the driving base forward for 3 seconds.

Program 2: Parallel Parking

1. Start the Program.
2. Drive forward in a straight line at the desired speed.
3. Wait for 1 second.
4. Reverse motor rotation while turning for 1.5 rotation.
5. Reverse motor rotation while turning the other way for 1.5 rotation.
6. Drive backward in a straight line for 0.5 rotation.
7. Drive forward in a straight line for 1 rotation.

Program 3: Parallel Parking with Simulating Reverse Gear and Reverse Warning lights

1. Start the Program.
2. Drive forward in a straight line at the desired speed.
3. Wait for 1 second.
4. Turn light on (reverse light).
5. Reverse motor rotation while turning for 1.5 rotation.
6. Reverse motor rotation while turning the other way for 1.5 rotation.
7. Drive backward in a straight line for 0.5 rotation.
8. Drive forward in a straight line for 1 rotation.

After finishing each program, make sure to check the following building before sending command to the wheeled robot: Are the wires correctly connected from the motors to ports B and C? Are the wheels correctly installed? Are the wheels rotating freely?

Communication ECA Phase IV Class 2: Programming Basics 20180919

In the second class, we continued talking the main programming blocks in the EV3 software and the hardware communications. The programming blocks include three categories: Action, Flow control, and Sensors. The Action includes all action related blocks such as the motor, motion mode, and sound and light of the brick. The Flow control includes start, delay, loop, and switch blocks. The Sensors include color sensors, ultrasonic sensors, gyroscope sensors, and touch sensors.

The first program we covered was the motor control.

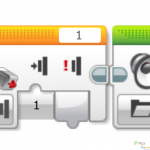
The program starts by a “start” block in the “flow control” category, follows by a “large motor” block in the “action” category, then a “wait” block in the “flow control” category. The differences among three motor control blocks come from the first button, from where we can choose the control mode of the motor. The five control modes are literally intuitive. The second button controls the power input, the number can be both positive and negative, which can make the motor rotate and clockwise contraclockwise.  The third one depends on the choice of the first control mode. For example, in the first “large motor” block, we picked “on for rotations”, power to “50”, and “1”. The block controlled the motor to rotate 1 clockwise circle. The “wait” block is nothing but to control the motor to stop for 1 sec.

The second program we did was the touch sensor.

As the last program, it starts by a “start” block in the “flow control” category, follows by a “wait” block in the “flow control” category, then a “sound” block in the “action” category. The “wait” block is very powerful and can be used to control all sensors by choosing from the first button list. The reason we used a “wait” block instead of the “touch sensor” in the “sensor” category is that the program pipeline needs to be paused until the sensor get triggered after a time delay. Due to the fact that the time is not determined until the sensor gets triggered, thus we cannot use set a determined time as same as the first motor control program. The “sound” block was activated when the touch sensor was triggered and gave a sound “Ouch”, which can be picked in the upper right button list.

Communication ECA Phase IV Class 1: Programming Introduction 20180912

Phase IV is the most advanced level of Play2Learn Education Lego Challenge Program. In the next 8 weeks, different robotics programming classes using different sensors including color sensors, ultrasonic sensors, gyroscope sensors, and touch sensors will be covered.

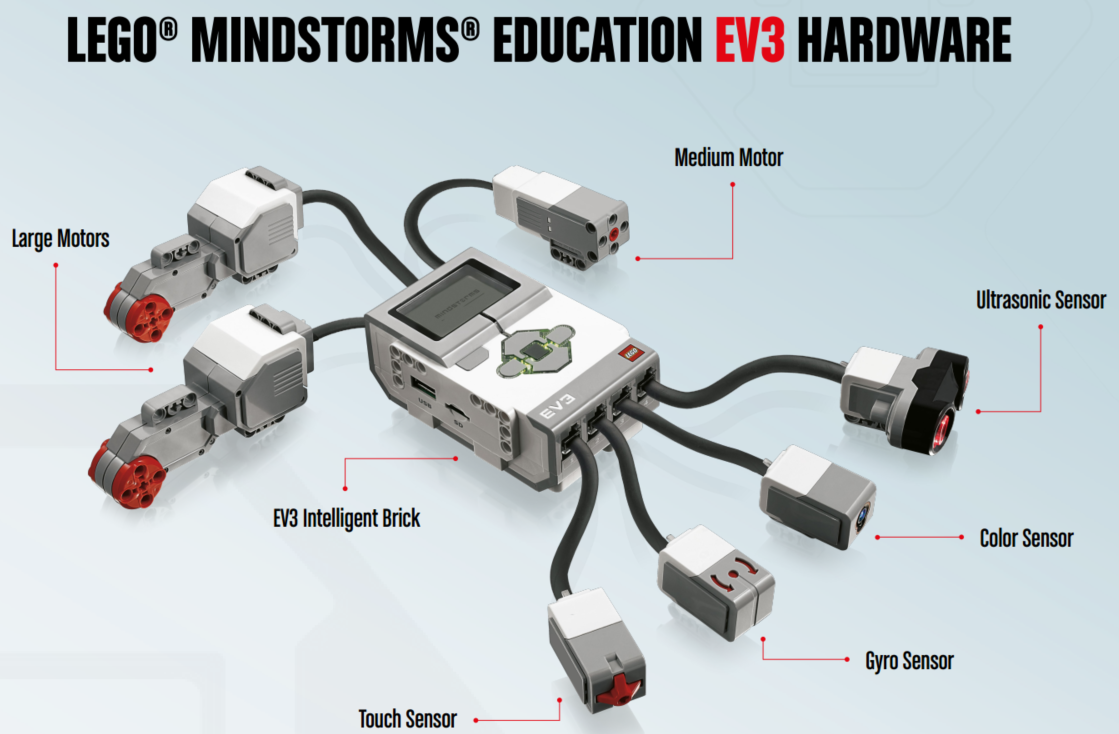
The first class was the introduction to hardware and the software of the Lego EV3 kit. The hardware talked in the first introductory class including the central controller, i.e. the brick, the big and medium motors, color sensors, ultrasonic sensors, gyroscope sensors, and touch sensors. The basic functionality of these parts was detailed during the class. The software, which is the programming interface on the computer used to control and communicate with all the above hardware parts was also introduced.

After went through the basic of the hardware and the software, we guided students to rename the names of their bricks, and then to connect bricks to their laptop through Bluetooth. The student achieved a significant step after the first class. In the second class, we are going to introduce and practice the basic programming skills.

Play2Learn Education